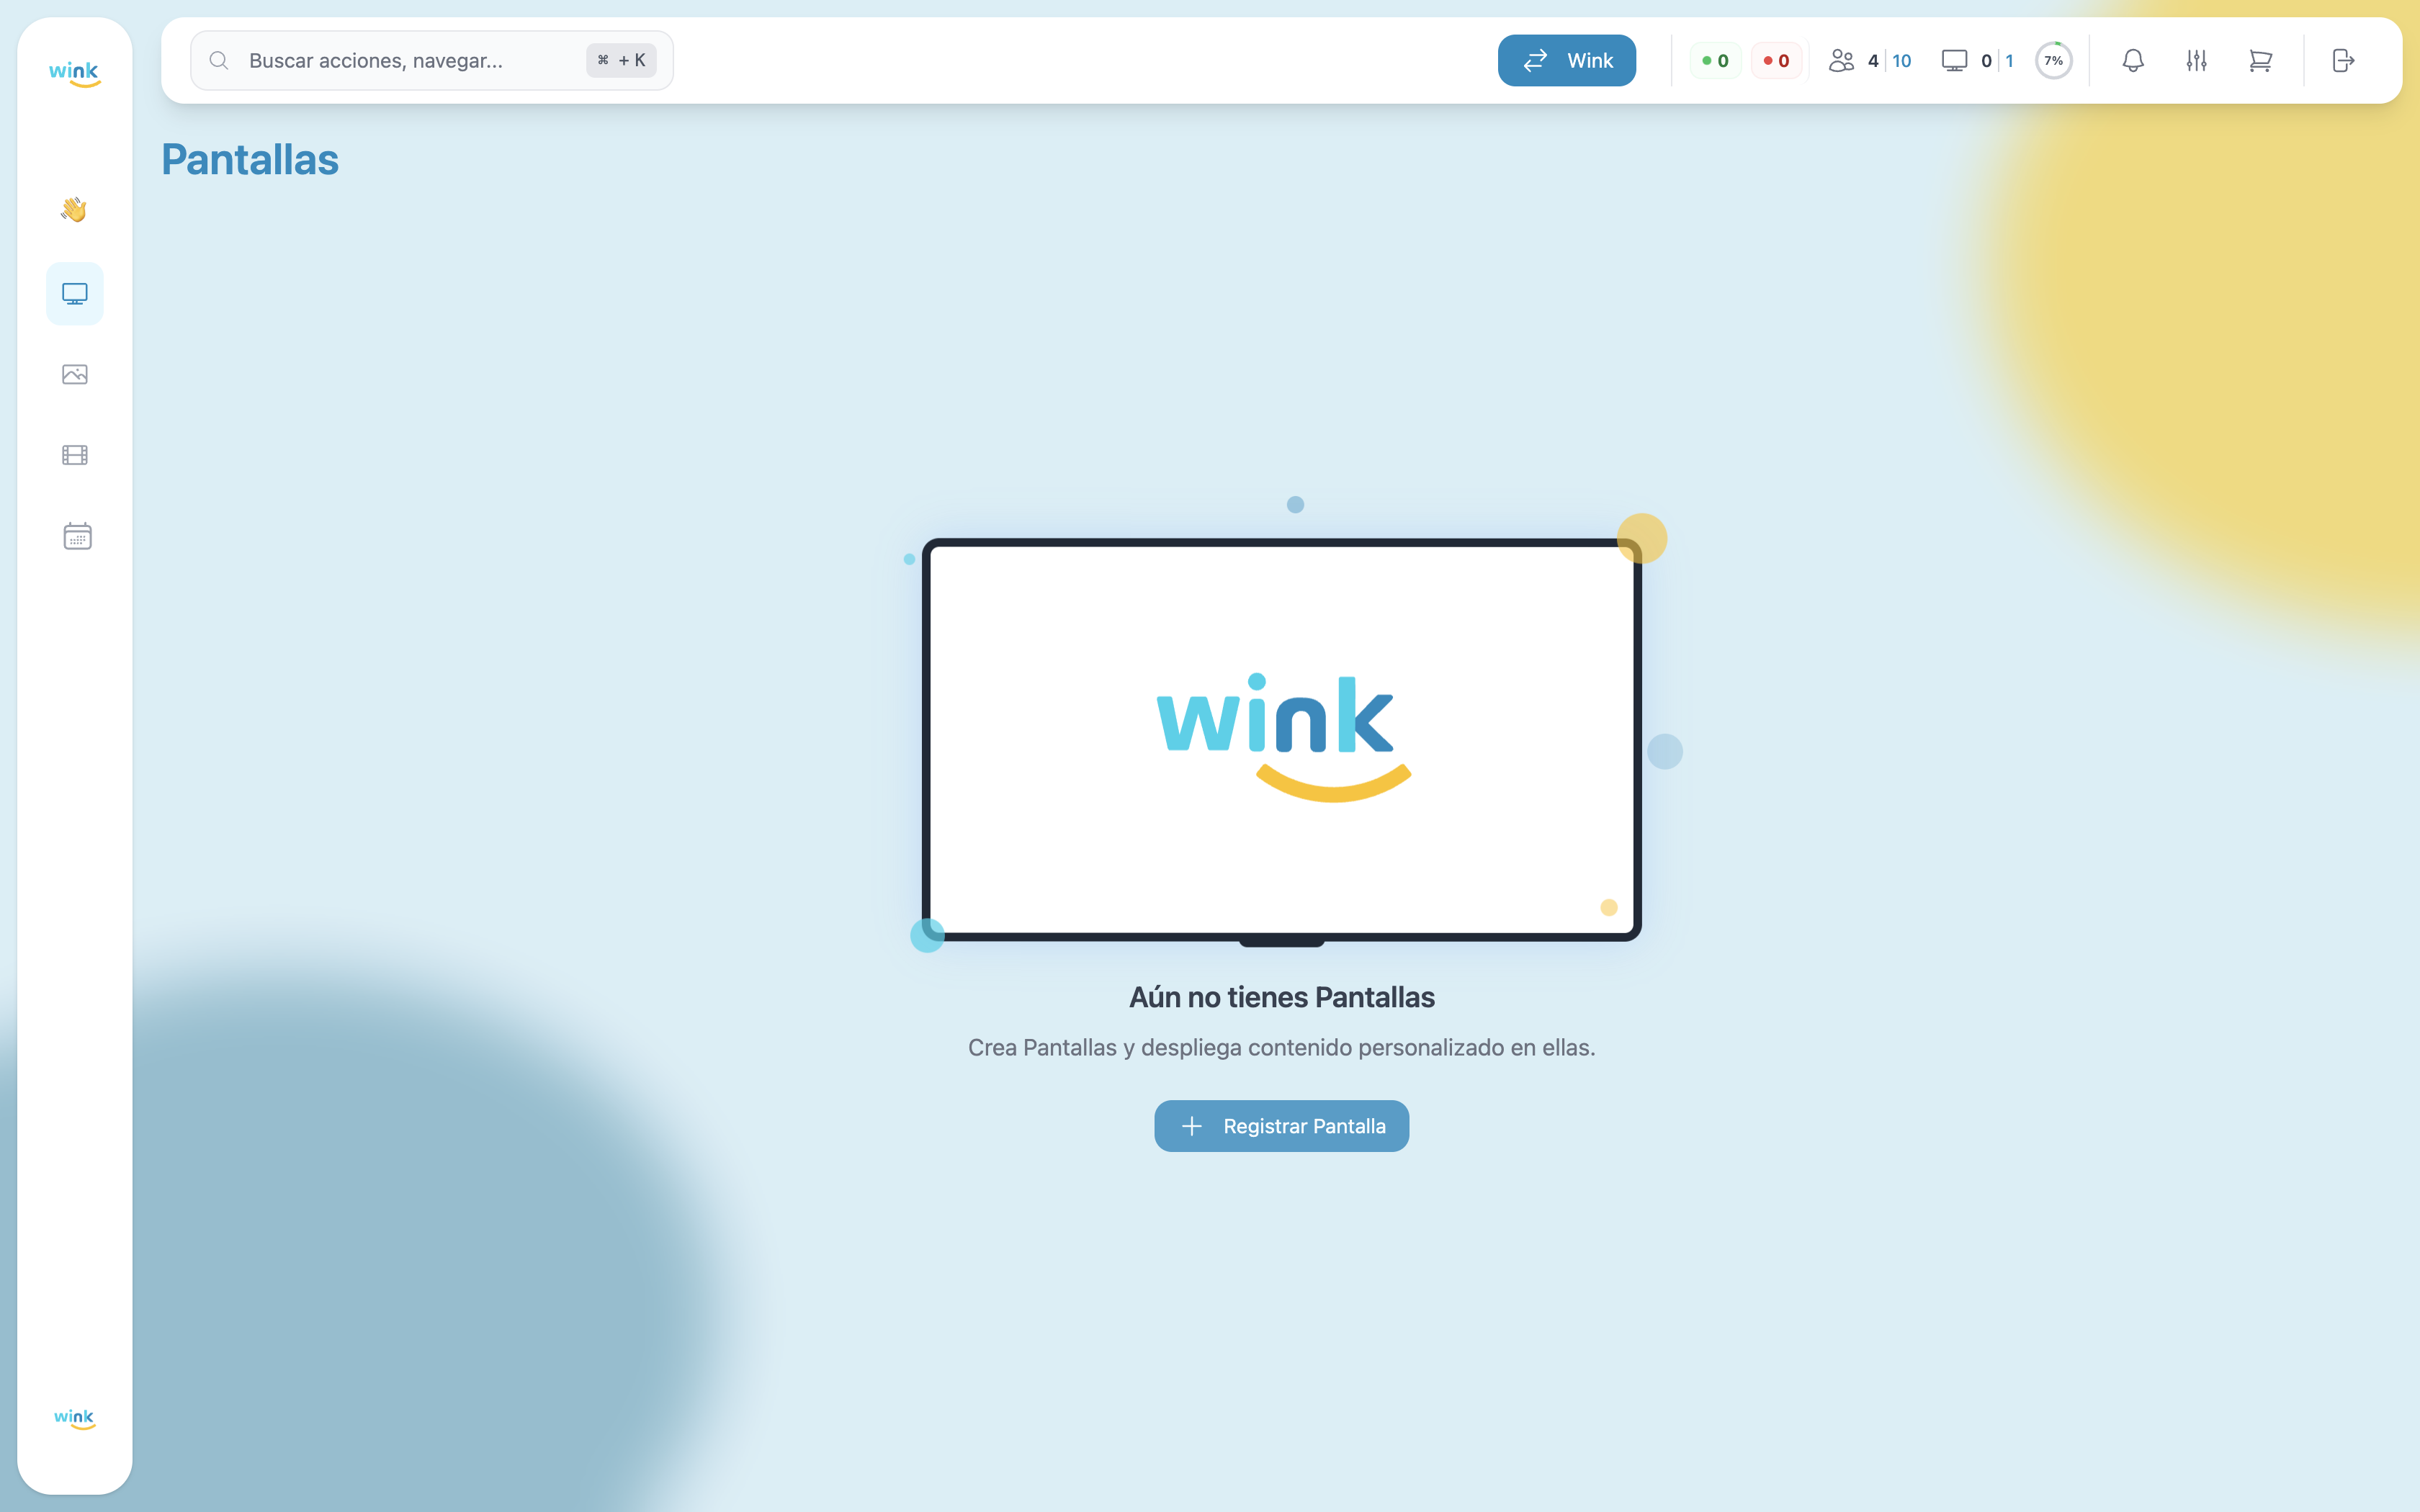
Register Wink Player
The first step to displaying content on your screens is registering each Wink Player device in the platform. This process physically links the hardware to your Wink App account.
Registration Process
Registration is completed in two steps:
- OTP Verification — Enter the 6-digit code displayed on the device screen.
- Screen Configuration — Fill out the form with the device's details and preferences.
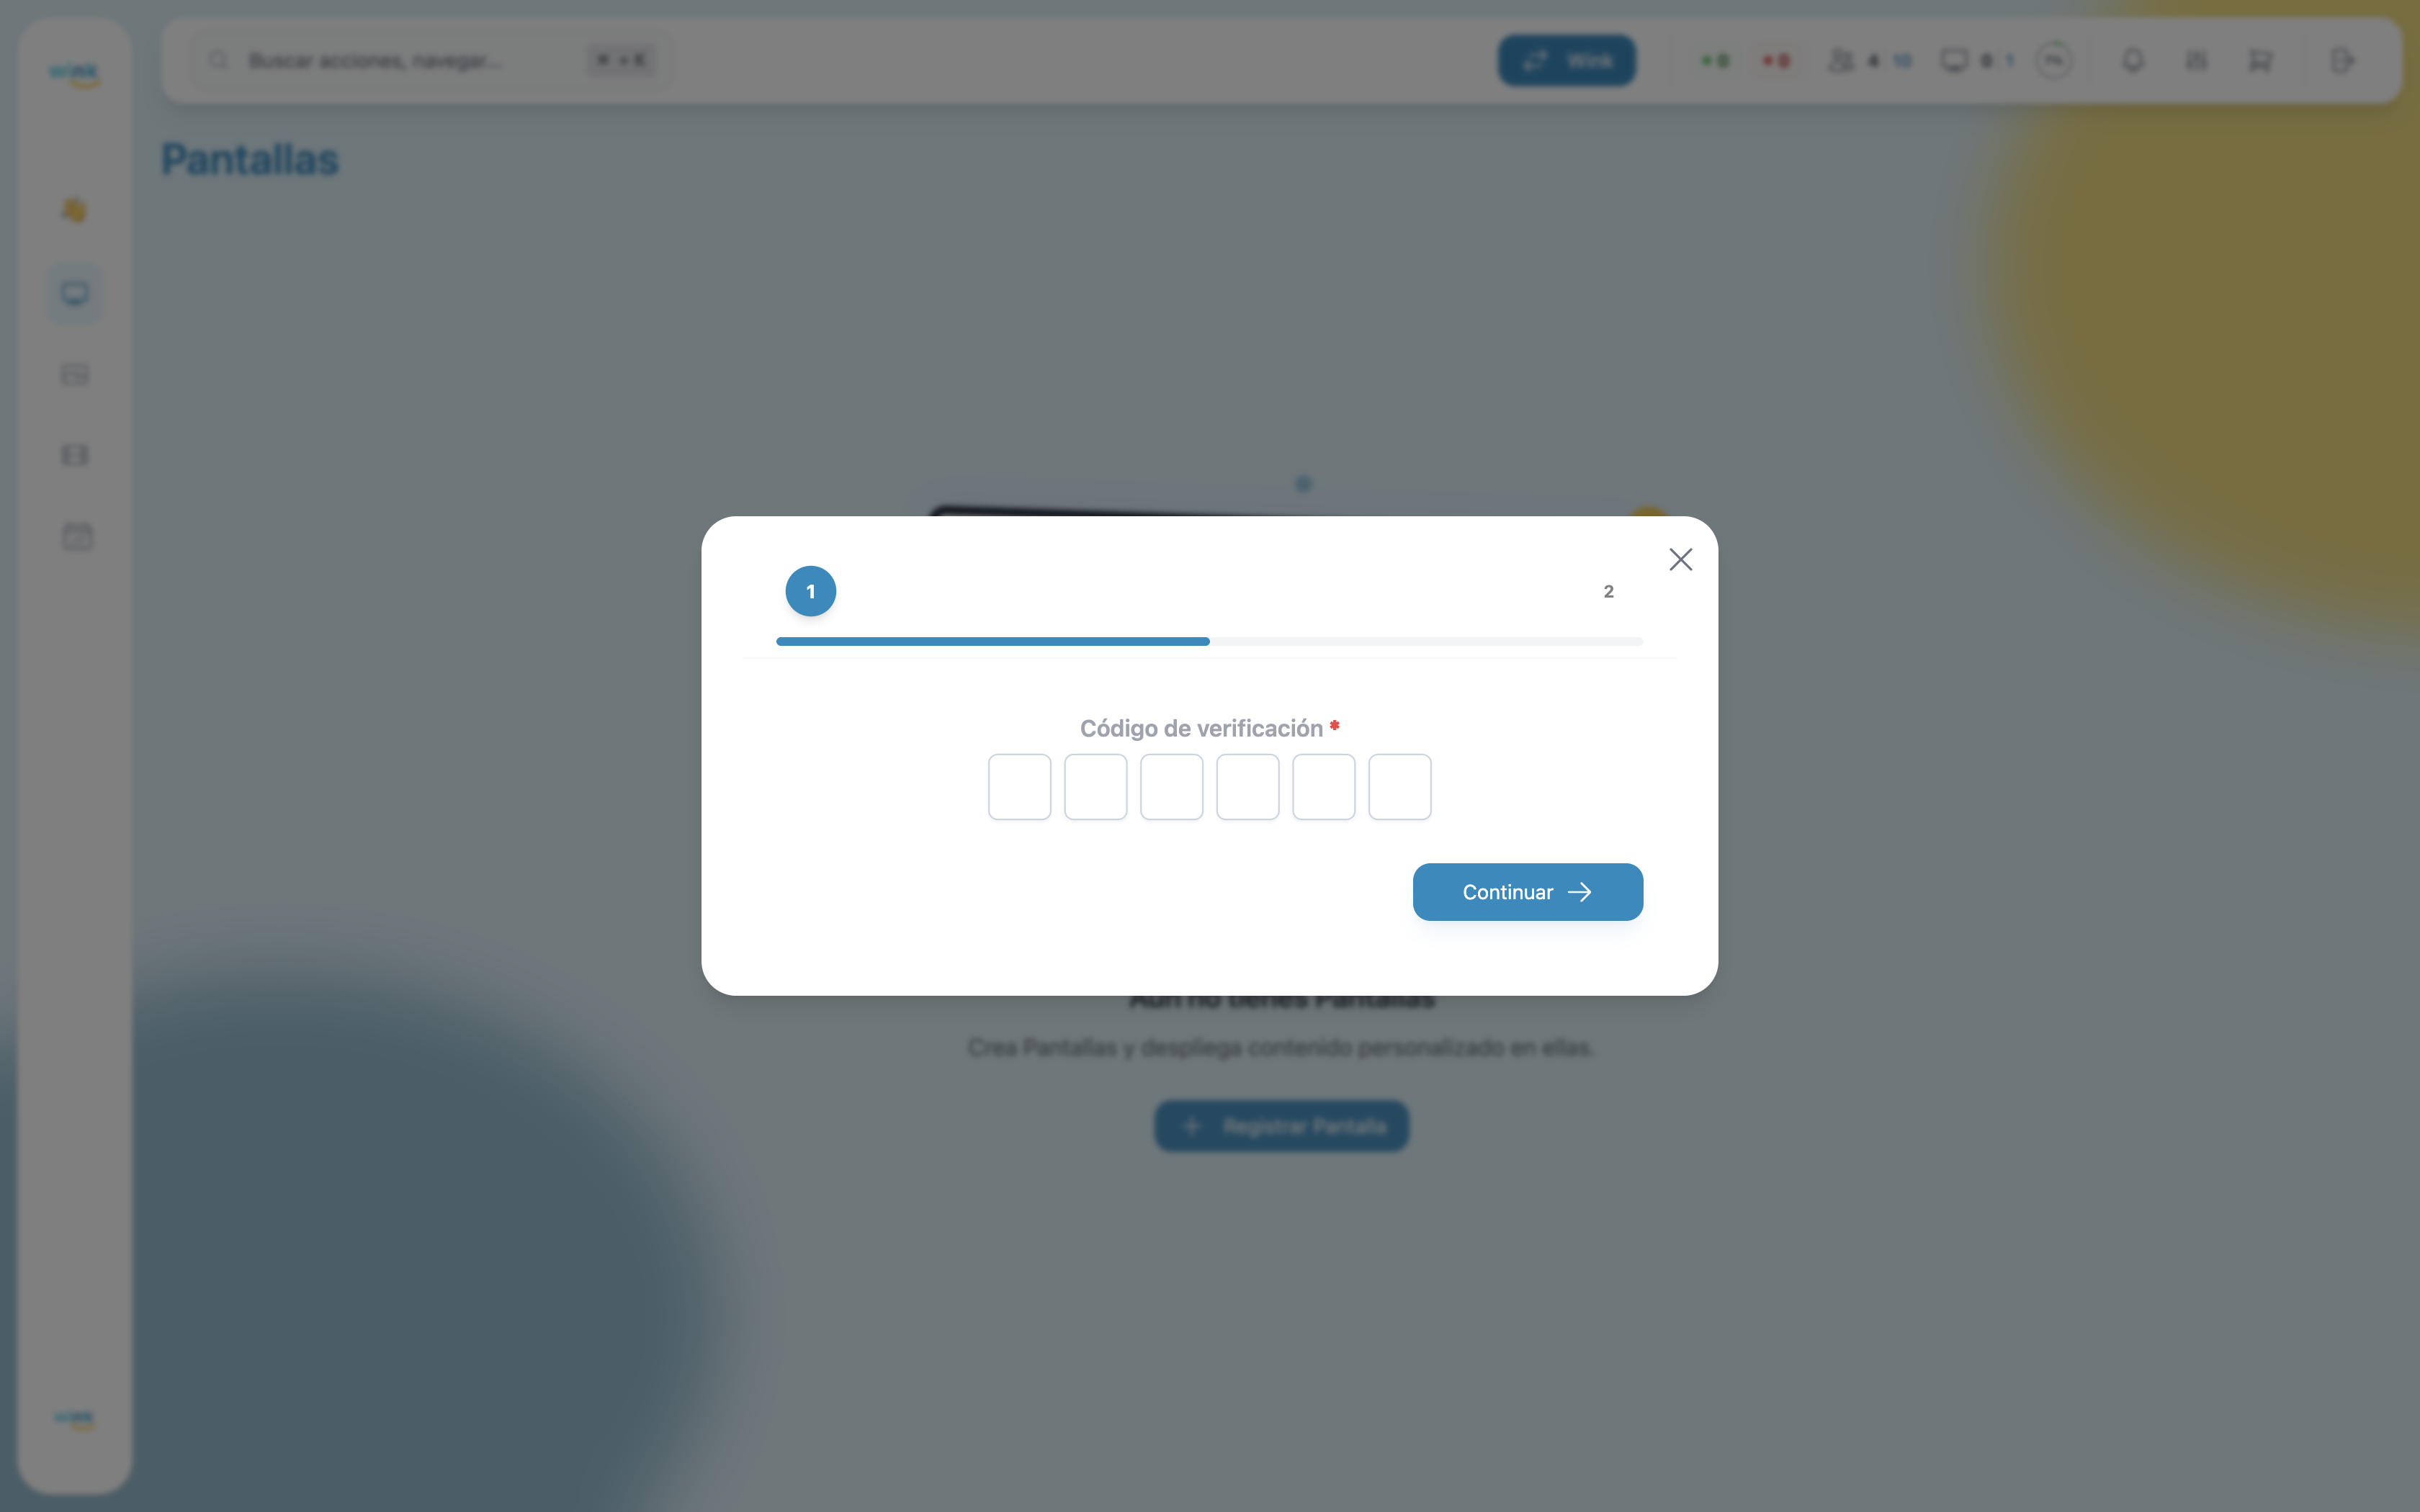
Step 1: OTP Verification
When a Wink Player is powered on and connected to the internet for the first time, it displays a 6-digit code on screen.
- In Wink App, click the Register Player button (top-right corner, or in the center of the empty state).
- Enter the 6-digit code shown on the device screen.
- Click Continue.
Can't see the code?
Make sure the device is powered on, connected to the internet, and in registration standby mode. If the code doesn't appear, restart the Wink Player.
Step 2: Screen Configuration
Once the OTP is verified, the configuration form opens with two tabs: General and Location.
General Tab
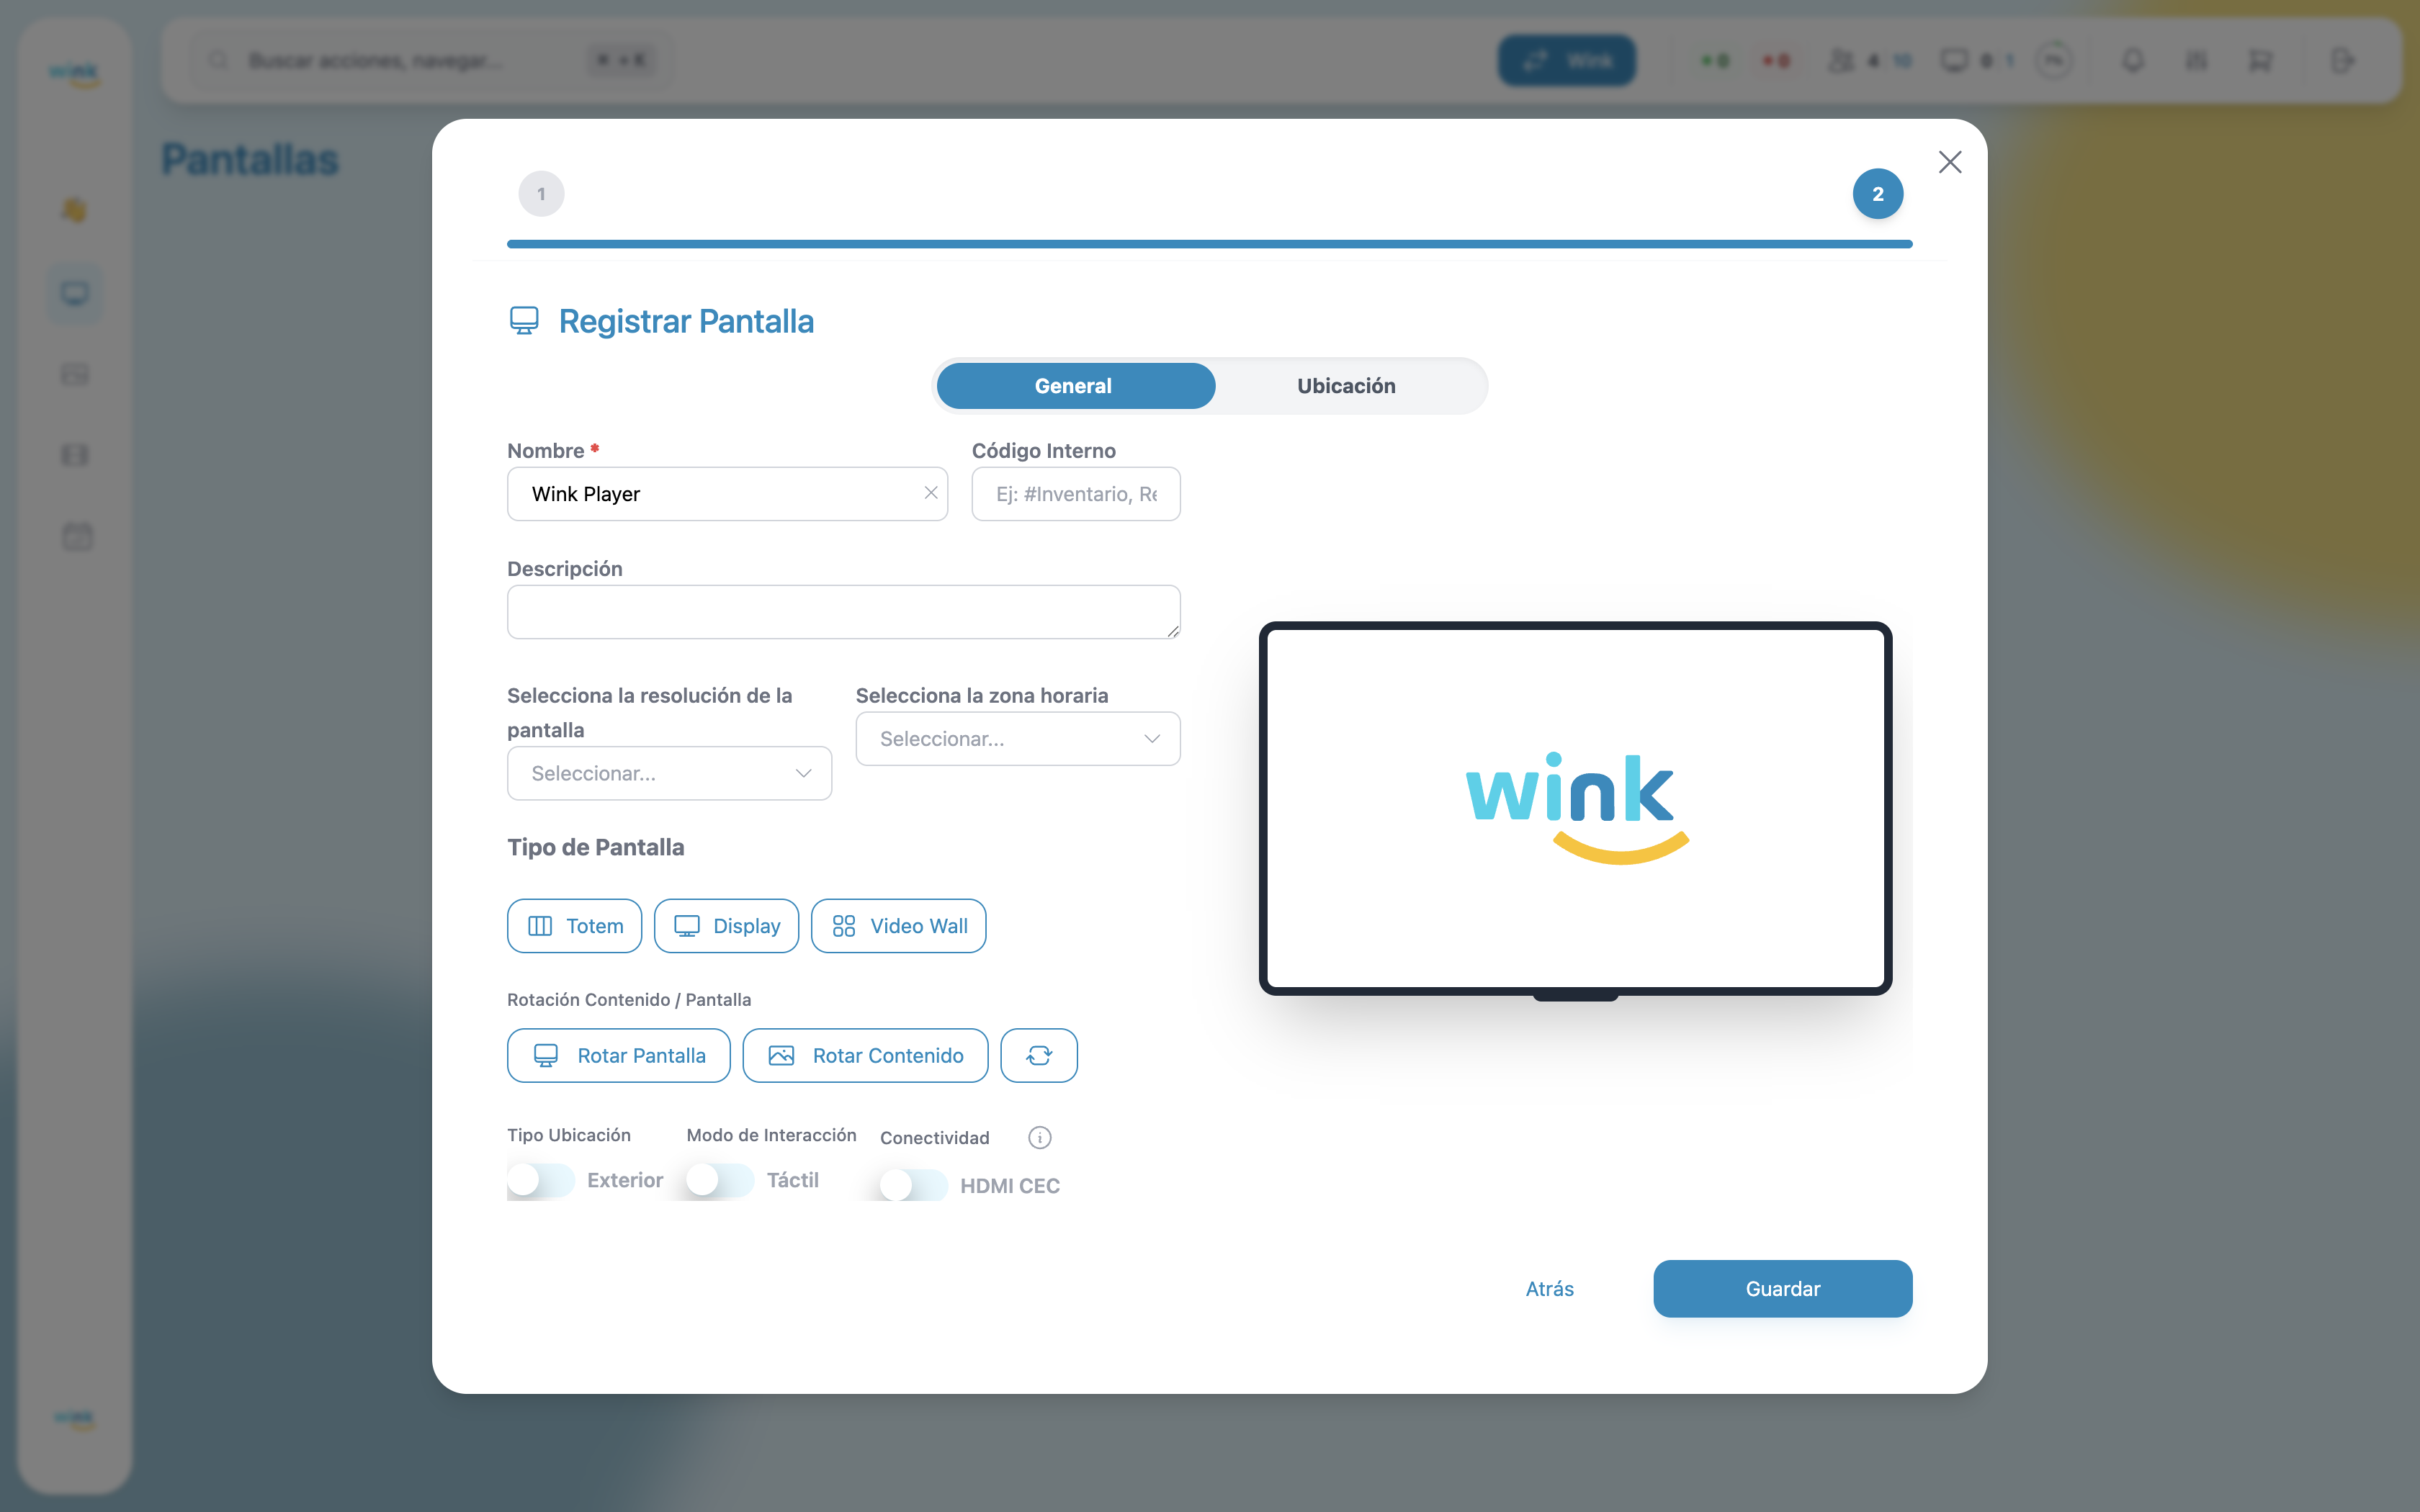
Name *
The name that will identify this screen within Wink App. It should be descriptive and unique to make management easier.
- Required: Yes
- Example:
Lobby Screen,Floor 2 TV - Room A
Use descriptive names
A good name helps you quickly identify each screen, especially when managing many. Include the physical location or zone in the name.
Internal Code
An optional field to assign a reference code from your own organization — useful for matching the registration with your internal inventory system.
- Required: No
- Example:
#INV-0042,REF-ROOM-B
Description
Additional notes about the screen. Use this to describe its purpose, special characteristics, or any relevant information for your team.
- Required: No
- Example:
Main lobby screen, facing the north entrance.
Resolution
Select the output resolution for the screen. The system automatically detects the resolutions supported by the device.
- Format:
{width}x{height} {refresh rate}Hz - Example:
1920x1080 60Hz
Select the correct resolution
An incorrect resolution may cause content to appear distorted or with black bars. If unsure, check your screen's technical specifications.
Timezone
Defines the device's local timezone. This is critical for schedules to run at the correct local time.
- Required: No (but strongly recommended)
- Includes North American and Latin American timezones
- Example:
America/New_York (UTC-5),America/Chicago (UTC-6)
Always configure the timezone
If the timezone is not set, scheduled content may play at the wrong time, affecting your entire content programming.
Screen Type
Defines the physical configuration of the device. This affects how content is rendered and distributed.
| Option | Description |
|---|---|
| Display | Standard horizontal screen (TV, monitor). The most common option. |
| Totem | Vertical screen, such as a kiosk or standing signage display. |
| Video Wall | Multi-screen configuration where several screens form a single image. |
Rotate Screen
Rotates the device's output signal without altering the content. Useful when the hardware is physically installed at a non-standard angle.
- Options:
0°,90°,180°,270°
Rotate Content
Rotates only the content being played, without affecting the device's system orientation.
- Options:
0°,90°,180°,270°
Additional Options
| Option | Description |
|---|---|
| Outdoor | Indicates the screen is installed in an outdoor environment. |
| Touch | Enables touch interaction mode for touchscreen-enabled displays. |
| HDMI CEC | Enables control of advanced functions (brightness, power on/off, volume) via the HDMI CEC protocol. Only enable this if your screen supports HDMI CEC. |
Location Tab
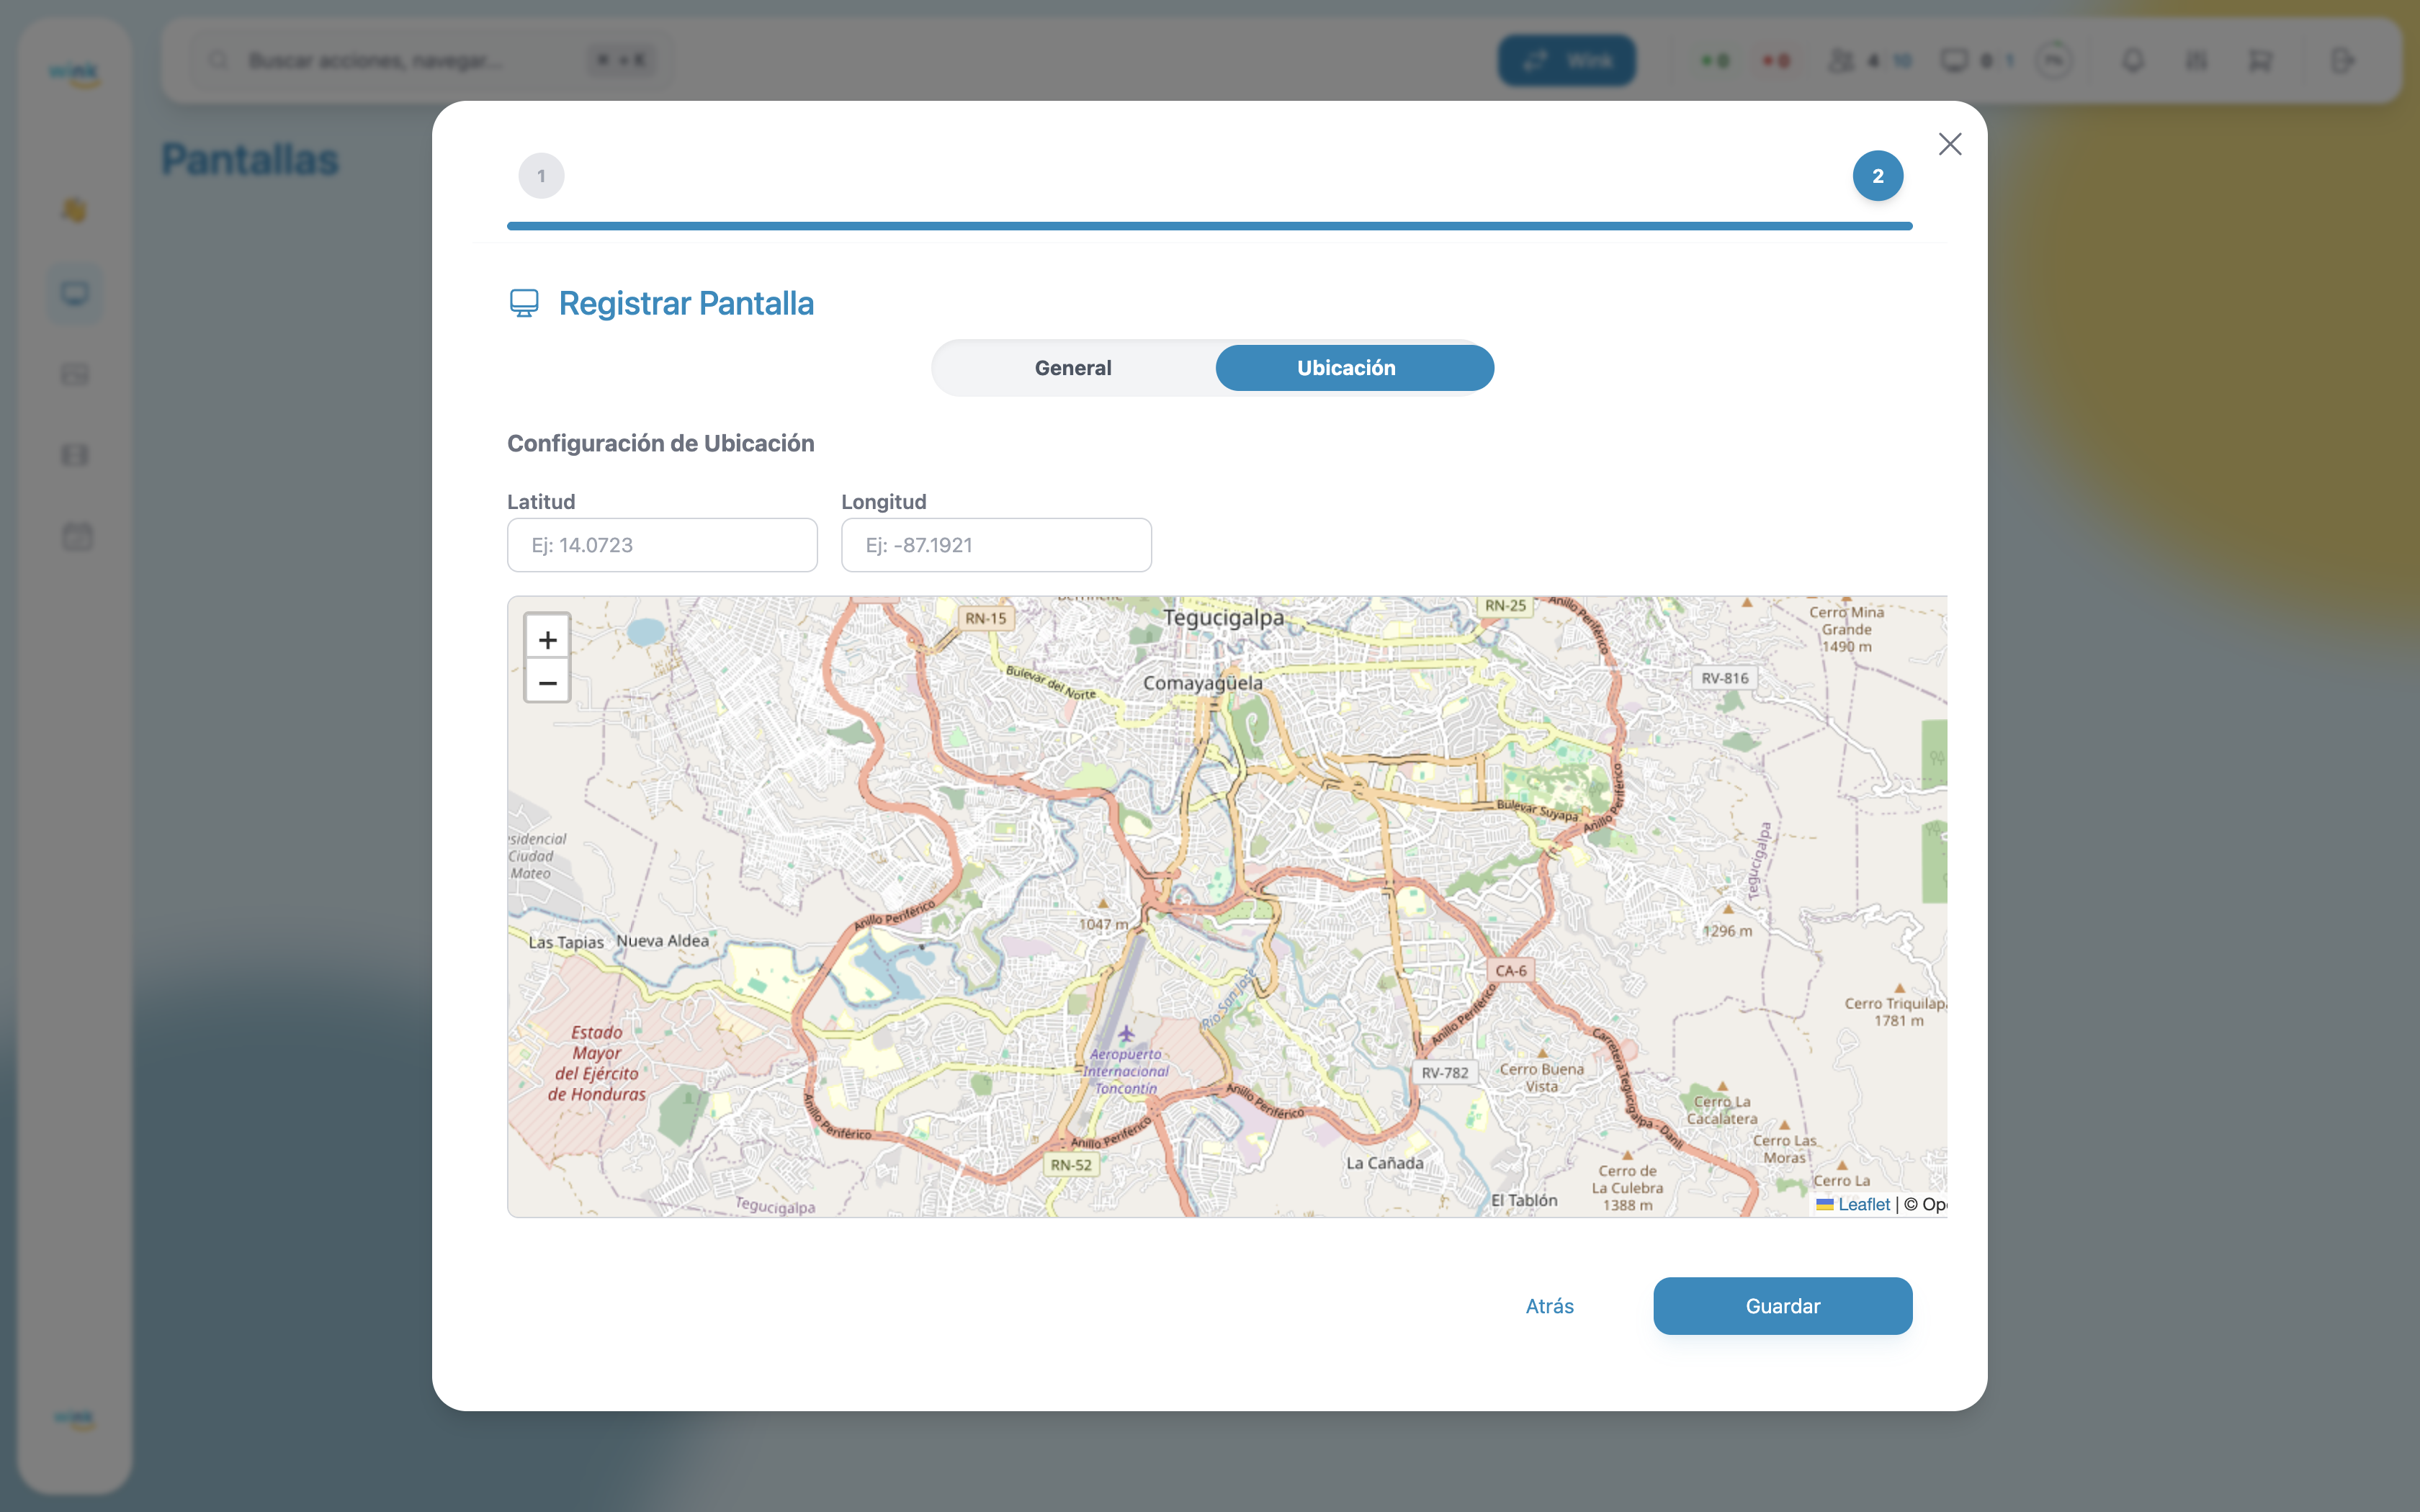
Latitude & Longitude
Geographic coordinates of where the screen is installed. You can type them manually or click directly on the interactive map.
- Required: No
- Latitude example:
14.0723 - Longitude example:
-87.1921
Use the map
Click anywhere on the map to place a marker and automatically fill in the coordinates. You can also drag the marker to fine-tune the position.
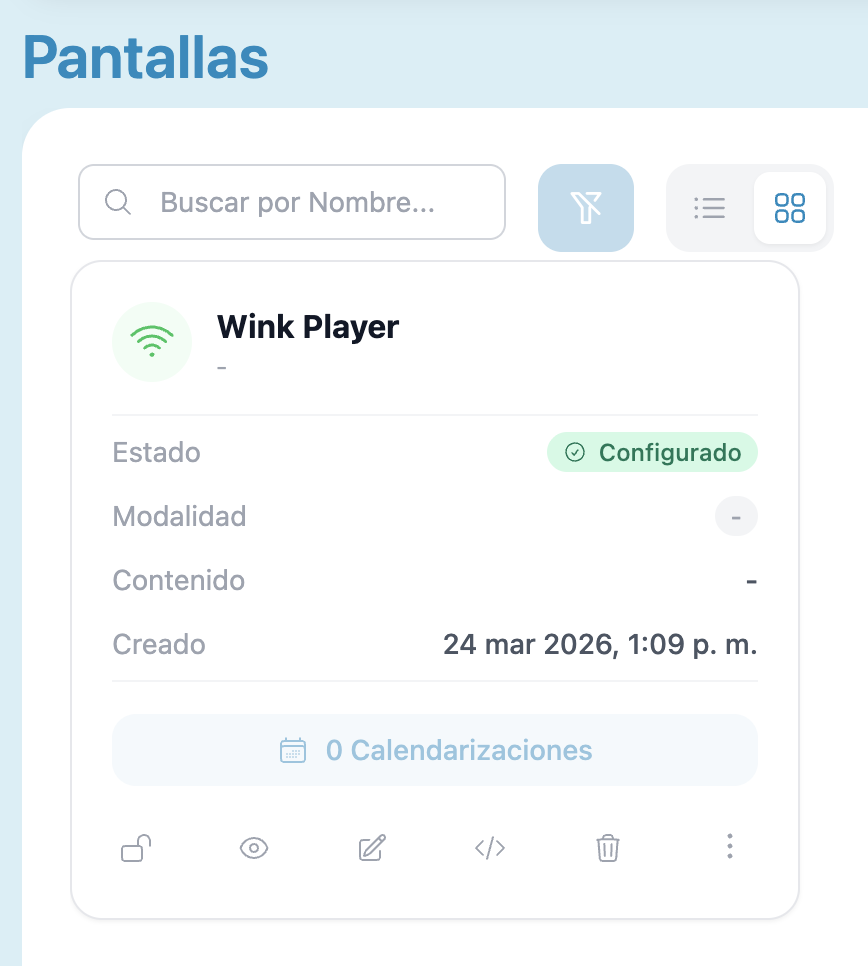
Saving the Registration
Once the fields are filled in, click Save to complete the registration. The screen will appear in your Players list with the status Configured.

You can edit later
All form fields can be modified at any time from the Player's detail view.